We are often asked questions not only about the length of the tape, but also about how to "cut" it correctly. already during installation. As a rule, they take it "with a margin", but there are some parameters that you need to pay attention to even before buying an LED strip. In addition to cutting, you should be able to connect individual strips and connect it to the power supply. In order not to damage the diodes and do everything correctly, use our practical tips. You will definitely get a beautiful, high-quality and long-lasting bright illumination for interior, exterior or advertising.
LED tape, why do you need to cut it?
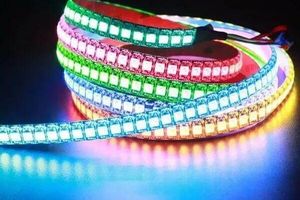
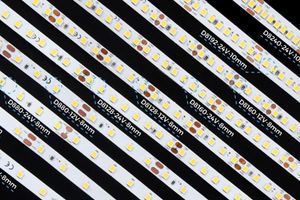
White or colored LED tape is sold by babins. Each type has a different roll length. The length of the coils is usually written in the product cards. It can be: 2.5, 5, 10, 30, 40 or 50 meters, depending on the manufacturer. You yourself "cut out" her, according to her project.
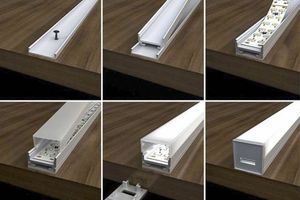
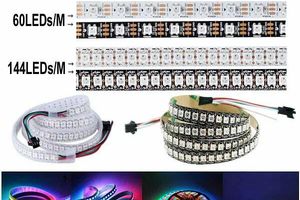
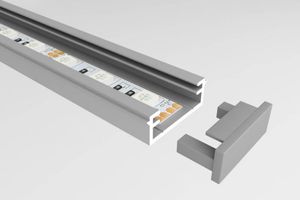
In addition to the yardage, it is worth paying attention to the number of light-emitting diodes per 1 linear meter. The brightness of the backlight depends on this parameter. The width of the strip — important for installation and the method of attaching the tape to the surface. The desired profile is selected for it, for example. To practically implement some ideas indoors or outdoors, you may need to additionally cut the LED strip into pieces of different lengths. What to do if it is necessary for your project?
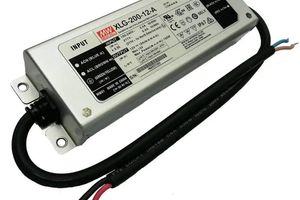
It is important to understand that the LED LED strip — it is a device with certain parameters, so you cannot cut it where you want. It is better, to begin with, to draw the project and calculate the possible options for its placement, and based on this, choose the necessary lighting elements. Moreover, it is not only about the tape itself, but also about the power supply unit, as well as about additional devices.
LED tape, where can you cut it?
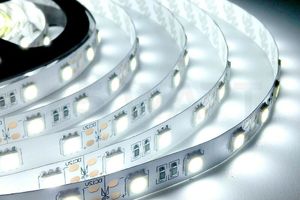
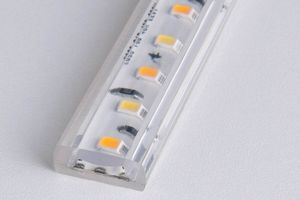
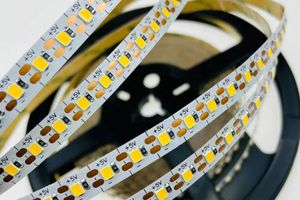
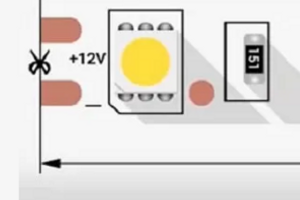
In fact, the LED strip — a solid printed circuit board, where light sources and current-limiting resistors are located at a certain interval. The cut places are also marked on the strip, also at some distance. Each manufacturer has its own marking: a solid or dotted line, or universal drawings of scissors. This place is marked for a reason. Several pads with contacts come out here, to which the conductors of the power supply cable will be attached later. It is necessary to cut only in such places!

Multiplicity of the cut (the same distance between the cut lines) - differs, depending on the type of LED strip:
-
12 V tape (16.7, 25, 50 and 100 mm);
-
24 V tape (16.7, 25, 29.4, 29.5, 31.3, 35.7, 41.6, 41.7, 42, 49 , 50, 55.5, 62.4, 62.5, 71, 83.3, 100, 125 and 167 mm);
-
48 V tape (33.3, 50, 119 and 167 mm);
-
220 V tape (100 mm, 250 mm, 500 mm, 1000 mm).
Knowing these features, you can effortlessly "cut" tape You can make a cut with simple scissors, stationery or a sharp knife. The main thing is to cut evenly and carefully so as not to damage the printed tracks. Please note that the 220V main light LED strip is in a special jacket that protects it from dust and moisture, so it will be more difficult to cut it. It is better to use a knife.
How to correctly connect the LED LED strip during installation?
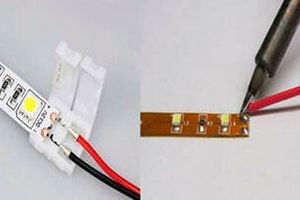
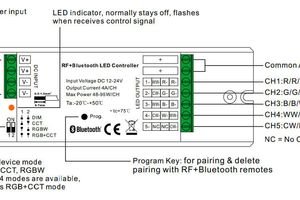
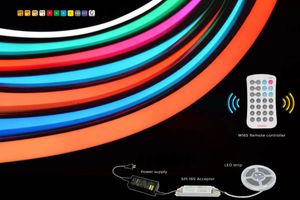
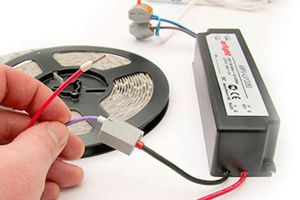
Segments of the LED strip are connected in series, as well as all devices in the chain. LED strips are connected "+" to "+", "-" to "-". The first piece of tape goes to the power supply unit and connects to it, observing the polarity. Please note that each adapter has its own type of tape and its specific length. The color LED strip differs from the white one in the number of contacts and markings. Instead of two polar wires, four come out of it: "R", "G", "B" and "-". The connection is made using soldering or special connecting connectors, if you do not have a soldering iron at hand.
To whom can I ask a technical question?
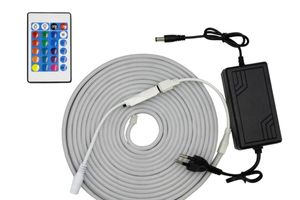
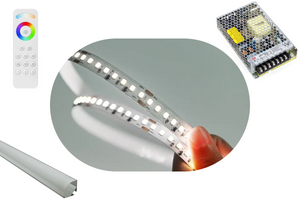
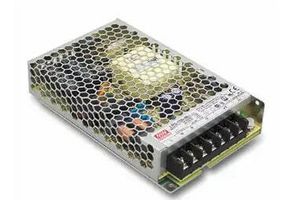
Quality LED strip – this is only half the battle. To make reliable and durable lighting, it is best to start with a project and determine the necessary elements, devices, and also the meterage. After preliminary calculations, you can consult with our managers. They will tell you the cut frequency of each tape, its voltage, width, class, level of protection, number of diodes per meter. They will help you choose the appropriate power supply unit so that it does not burn the tape, and the backlight burns with the necessary brightness. You may need an amplifier, a controller, a dimmer with a remote control, if your plans include, for example, an item about switching colors in an RGB tape. We will easily calculate the basic project of LED lighting for you and give advice on its further operation.


